So apparently I have not become any better at blogging regularly.
The mix of my baby boy, deciding to make wedding invitations, and working on my business in the evenings has meant that I'm in bed earlier and earlier, and spending my downtime reading instead of writing.
But I've recently joined a new craft group on Facebook, and whilst sharing a couple of my new shutter card designs on there, came across a lady who wanted to make one for herself. So this tutorial is for you, Chris.
I make my shutter card base using the new tattered lace dies which can be found here....
Mine came from one of the members events discounts, along with some others that I am yet to use, but if you don't have the dies, a good template can be found here....
And so, to make...
You will need:
Die cutting machine (I use the xcut express)
Tattered Lace Shutter Card Die
White and Pink card (or colours of your choosing)
Embossing Folders x3 (I've used an A4 embossalicious hexagon design, tri-boss hearts from papermania, and hearts design)
Double sided tape

So to start.
Take your white card, and place in on the bottom half of your die cutting sandwich, and place the shutter card die on top with the cutting edges facing down, and finish your sandwich. I also put my letter dies in at the same time for speed. If you are using the template this is where you add in your score lines and two cut lines.
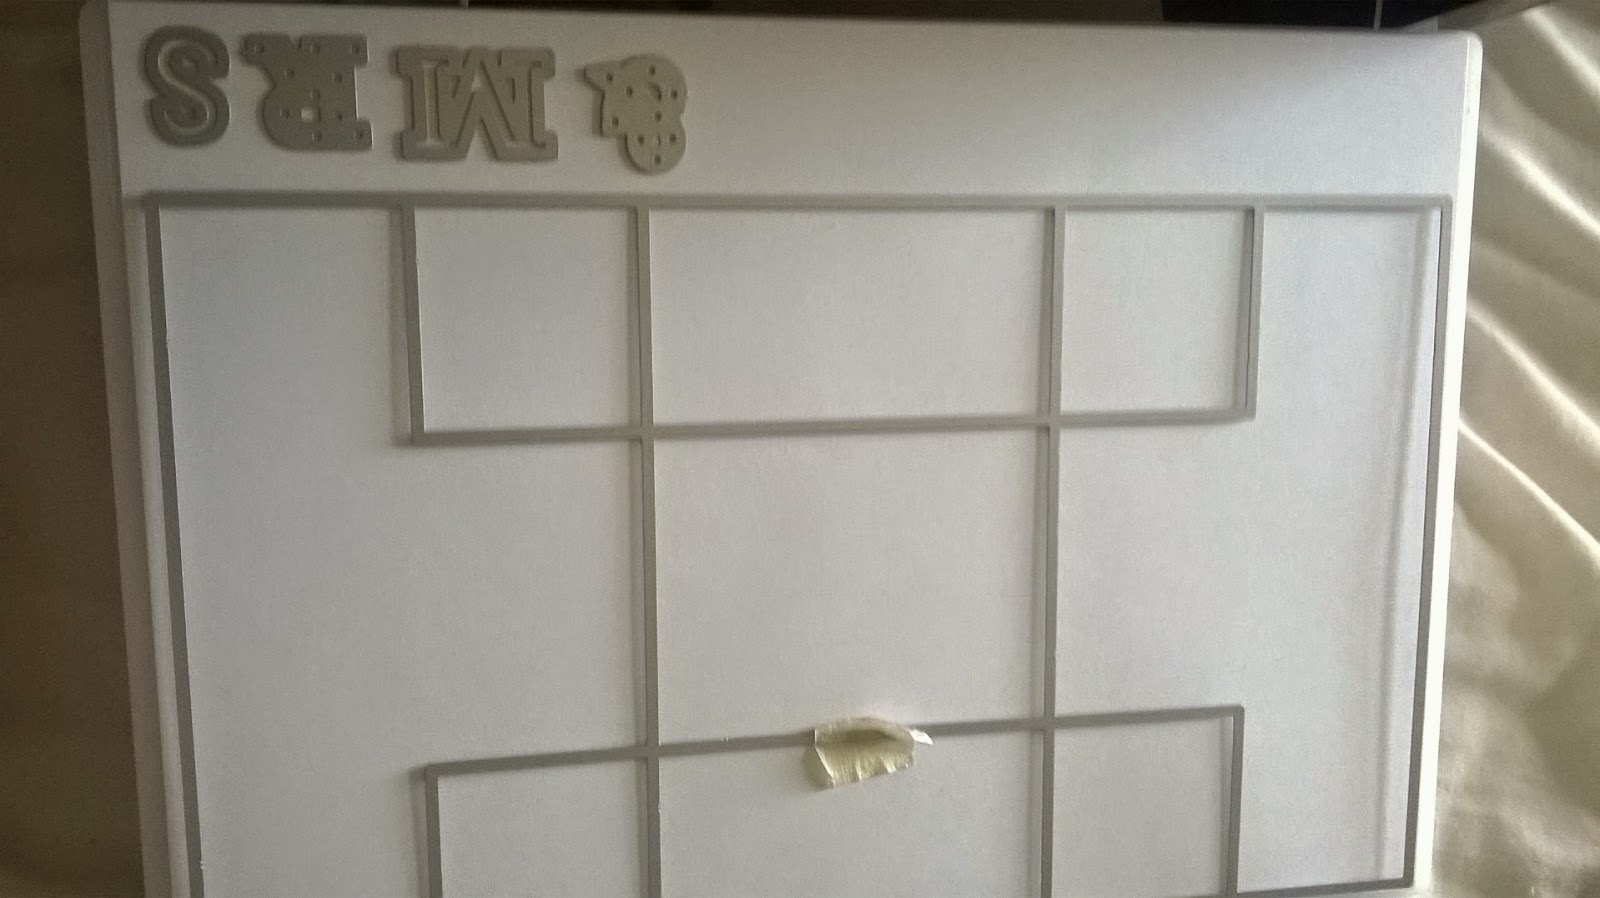
After cutting your main card, use the largest internal dies from the set to create your panels. Make sure you cut two of the large panels, one central rectangle, two small rectangles, and 4 small squares.

Once all of your panels are cut, they all need to be embossed. If you have large embossing folders, its much easier to use those, then the smaller ones, especially for things like the small squares.


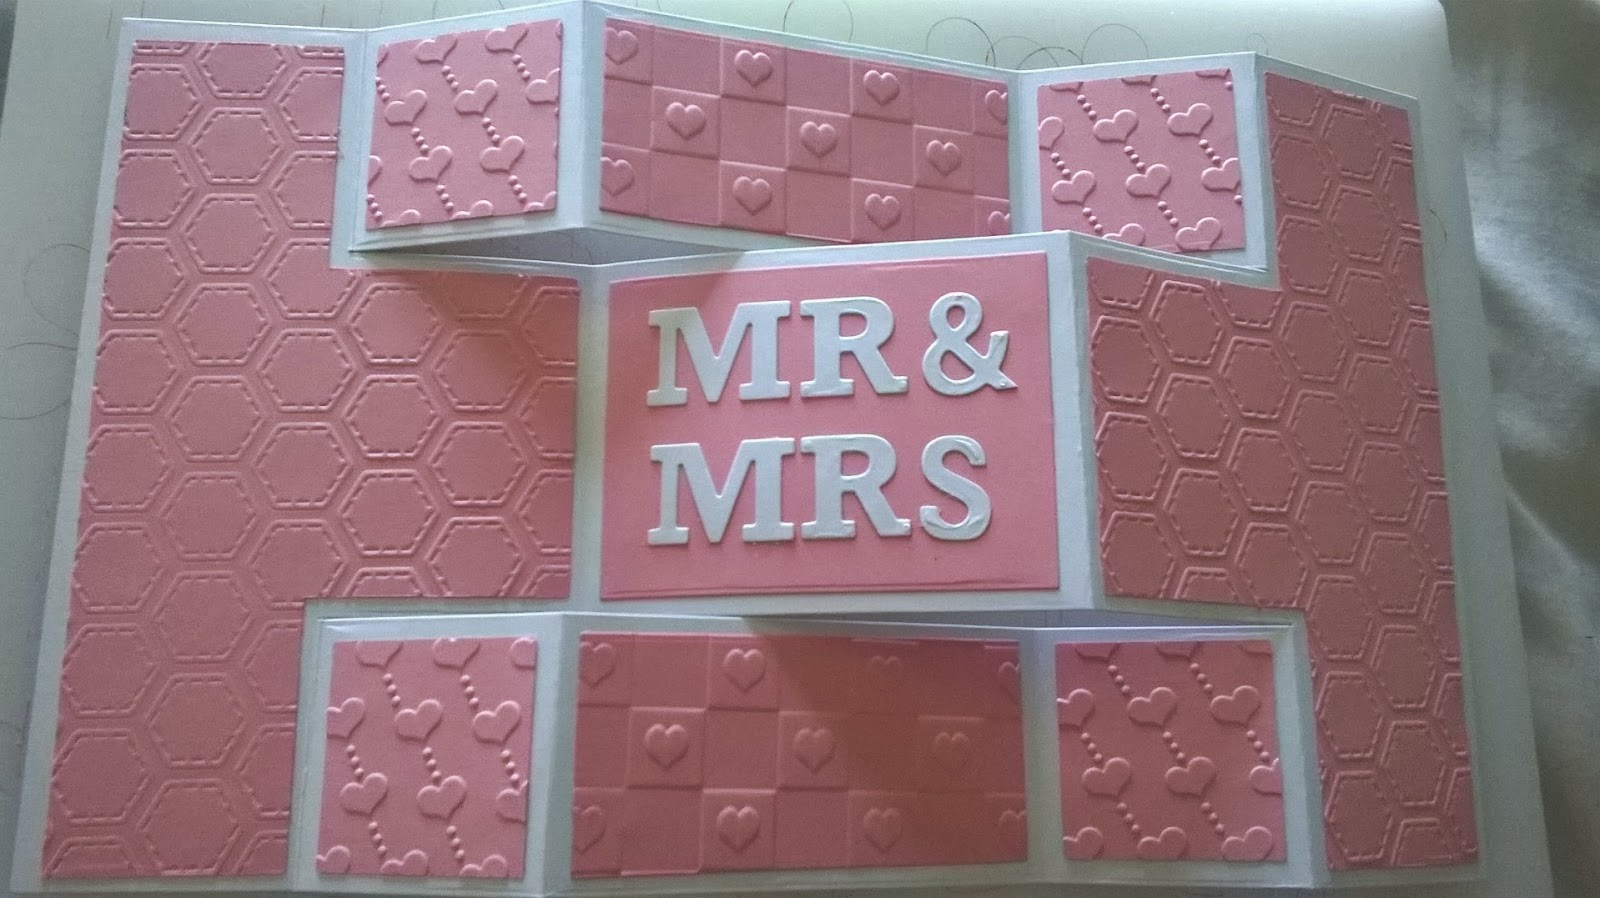
After all of the sections are embossed, its time to assemble. I always start with the large panels and go from there, doing each sized panel at a time so I know I haven't lost any (I'm a very messy crafter).


Finally, add your lettering, and any other embellishments you might like. I leave the sides of mine blank, so that I can add names and personalise each design.

Now its time to fold, following your score lines. Start by folding the first line into a valley fold, and the second into a mountain fold.

The edge of your central box should then have a valley fold on the left, and mountain fold on the right.


Finish the right hand side of the card so that it has a valley then a mountain fold also, and Ta daaaa, your finished card should stand.
So there we go, now you've made your first, your design options are endless.
Hope that helps,
Lel x


